Comparisons & Buying Guides
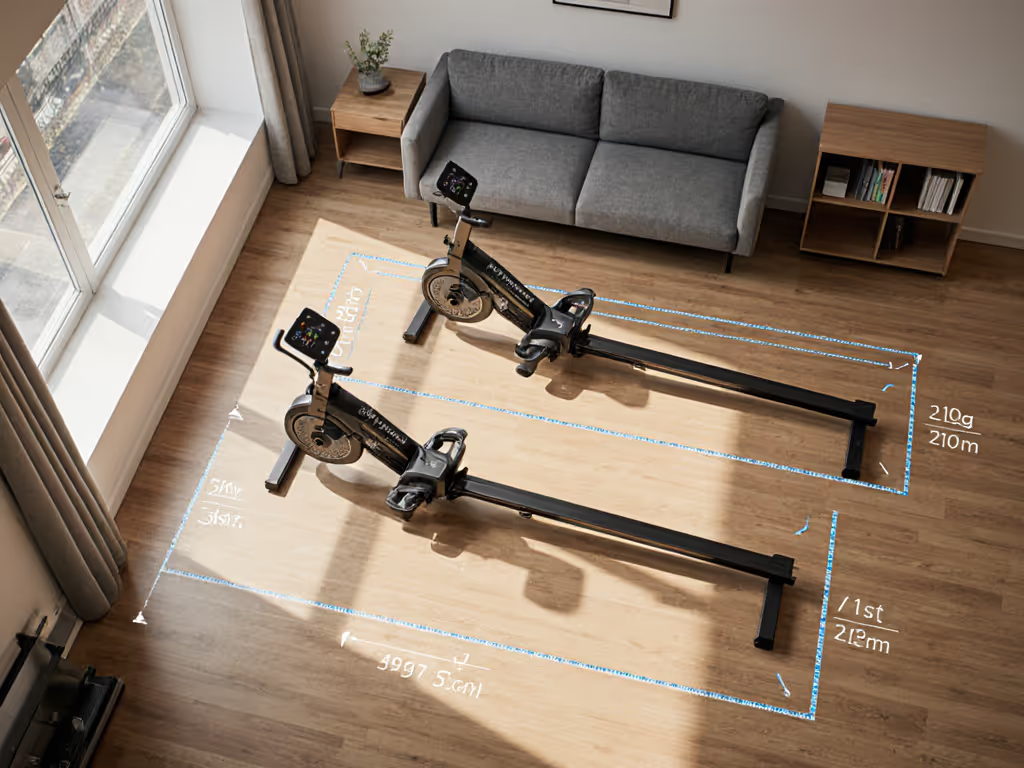
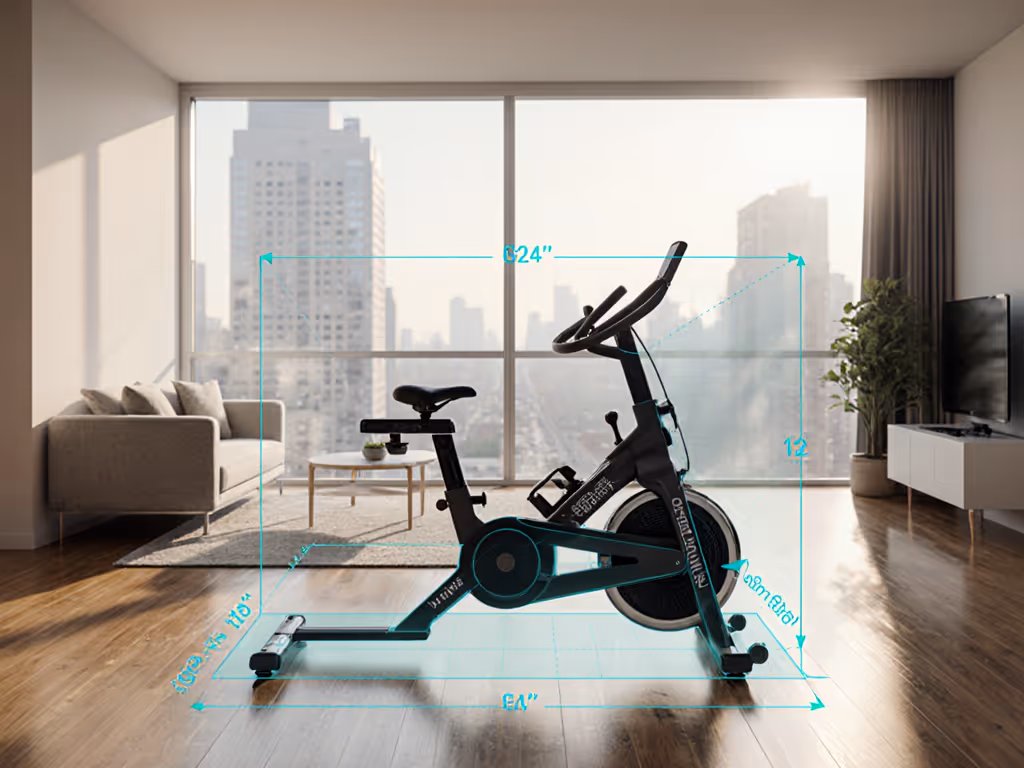
Apartment Rower Space Comparison: Precise Measurements
6th May•10 min read
Rowing machine footrest comparison matters because your feet are where power begins, yet most rowers treat the footplate like a non-adjustable afterthought. You're either cramming your feet into a fixed position or adjusting a footrest without any clear guidance, hoping it works for your body. The issue isn't the footrest itself; it's that adjustability is often presented as an on-or-off toggle, not as a measurable system tied to how your body actually moves.
If you're 5'3" and row next to someone who's 6'4", neither of you should use the same footplate height. Yet many machines force that compromise. Even worse, when you finally find a setting that feels "okay," you don't know why it works (or whether it's genuinely optimized for your stroke or just passively tolerable). That ambiguity is the seed of the problem.
Your footplate does three jobs: it anchors your feet so energy transfers from legs to handle, it sets the angle at which your shins approach the catch, and it determines how much knee bend you can access. When any of these is off, your whole stroke breaks down (not spectacularly, but gradually, in ways that feel like fatigue rather than poor setup). The result is lost power and mounting frustration. If these basics feel unfamiliar, review our catch-to-recovery form guide.
Consider shin verticality: the angle between your shin and the vertical line at the catch (the front of the slide). If your footplate is too low, your shins angle forward past vertical, forcing your torso to swing open too early during the power phase. You lose mechanical advantage and end up doing more work for the same output. If your footplate is too high, your shins stay too upright, restricting knee bend and limiting compression, leaving power on the table.
The sweet spot lands somewhere in the middle. Research into shell rowing suggests a typical footboard angle between 38 and 42 degrees, measured as the pitch of the footboard relative to level. On ergometers, this translates to finding the footplate height that keeps your shins close to vertical without forcing your toes to hang off the edge.
Here's where it gets frustrating: adjustable footplates exist on most quality rowers, but the adjustment range varies wildly, and almost nobody explains how to adjust them or why different bodies need different settings.
On Concept2 machines and similar ergometers, you can move the footplate up and down across multiple positions. On water rowers, the distance between the slide and the footplate is physically smaller, so the footplate typically sits lower overall (which means you can't simply transpose a Concept2 setting to a water rower and expect the same shin angle).
For smaller or shorter users (generally below 6 feet in height), studies confirm that a higher footplate setting (showing 2, 3, or even 4 sets of holes) is necessary to achieve optimal power and avoid early body swing. Yet many shorter rowers instinctively set their footplate to a middle position, assuming "average" is safe. Petite athletes can use our compact fit guide to find machines that accommodate shorter inseams and higher footplate settings. It isn't. It leaves them in a mechanically disadvantaged position.
The frustration compounds when you factor in ankle, knee, and hip flexibility. A rower with tight hamstrings or limited ankle dorsiflexion may need to raise the footplate further, even if their height alone would suggest a lower setting. Without a way to measure your own angles or compare them to a standard, you're essentially guessing. And guessing costs watts.
Comfort that removes excuses (that's what precision in footplate setup delivers).
I learned this the hard way. Rowing had become my stress outlet until a nagging back twinge forced me to stop. When I finally measured my hip and ankle angles against my actual machine geometry, I discovered my rail height and foot stretcher were creating a mismatch: my shins were drifting forward too far at the catch, forcing my torso to compensate. Small adjustments (spacers under the footplate, a slight seat contour shift, and a handle diameter that better fit my grip) transformed everything. I wasn't a "bad rower"; I was a rower in a bad position.
When evaluating best footplates for rowing, look for machines that offer clear adjustment range and, ideally, some visual or numerical reference system. Here's what matters:
The wider the adjustment range, the more body types a single machine can accommodate. A footplate that moves through 4-6 distinct positions covers more users than one with only 2-3 options. Each position should be mechanically stable (no wobbling or slipping under load).
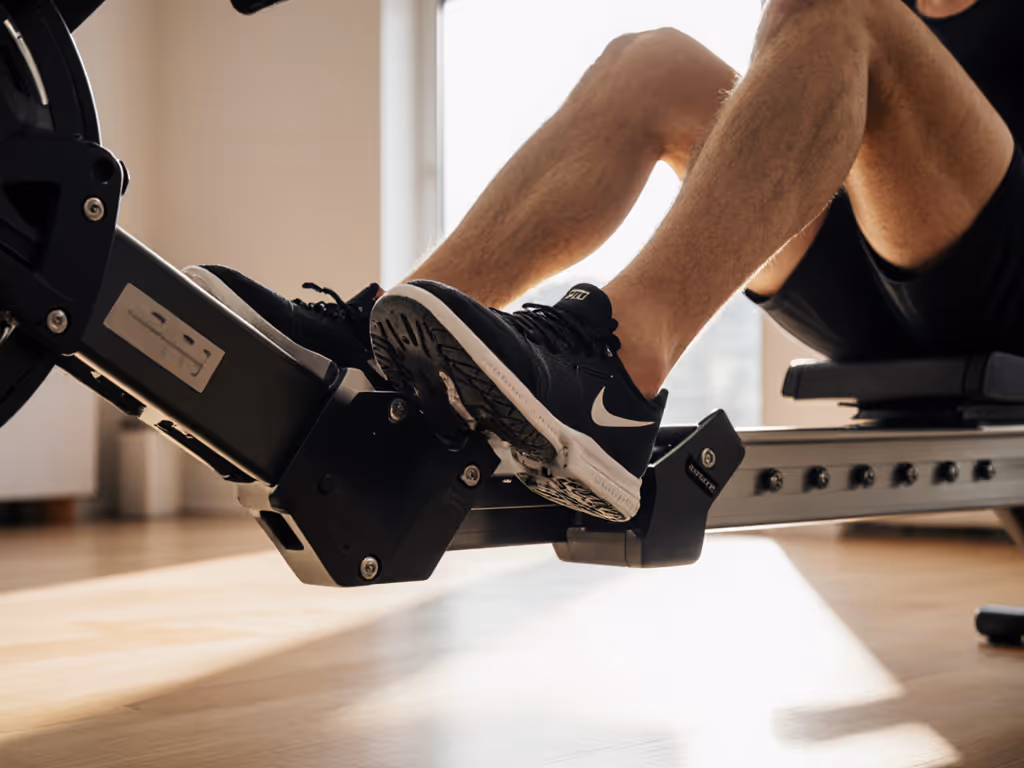
Rower foot strap design directly affects comfort during 20-40 minute sessions. Look for straps that distribute pressure across the midfoot (not pinching the ball of your foot) and offer adjustment without requiring tools. Neoprene padding or memory-foam backing reduces pressure hotspots. The strap should keep your heel planted without pulling your toes inward.
Instead of memorizing a "correct" footplate number, train yourself to check shin verticality. At the catch (fully compressed), your shins should be close to vertical (roughly 85-95 degrees from horizontal). You can assess this with a simple phone inclinometer app or by filming yourself from the side and overlaying a vertical line. For ongoing tracking, learn how to use rowing metrics for consistent gains. Once you see the angle, you know when you've found the right height.
Machines like the Concept2 Model D and Model E offer footplate adjustment across multiple settings. The key is that these machines provide a consistent reference point: the horizontal slot or rail system that guides the footplate up and down. This makes adjustment repeatable (you can return to the same position session after session, building neuromuscular memory).
If you wear size 12+ shoes or have wide feet, ensure the footplate is wide enough that your entire midfoot sits on the platform (not hanging off the sides). See our footplate comparison for wide feet to identify models with truly accommodating platforms. This affects power transfer and comfort equally. Some aftermarket footplates offer wider platforms specifically to accommodate this.
Good fit turns discipline into a habit you actually keep. Here's how to set your footplate systematically:
Measure your inseam (inside seam of your leg from crotch to ankle). This correlates loosely to required rail length and ankle flexibility, both of which influence footplate height. Users below 5'8" typically need higher footplates; users above 6'0" may benefit from lower settings (but this is a starting point only, not a rule).
Start with the footplate at a position that shows at least 2-3 holes on your machine. If your machine has numbered settings (1-6), begin at position 3-4.
Row a few meters, filming from your side. At the catch (legs fully compressed, back still at your normal catch angle), pause the video. Overlay a vertical line on your shin. If your shin angles more than 10 degrees forward past vertical, raise your footplate. If your shin remains so upright you can't compress further, lower it slightly.
Ensure your toes and ball of your foot don't hang off the front of the platform. This creates unstable push-off and joint strain. Your entire midfoot should sit on the platform.
Once you've found your ideal height, note the setting number or position name. If you use multiple machines (gym, water rower, home ergometer), measure the shin angle on each and adjust accordingly (because the raw "number" doesn't transfer between machines).
Adjustable footrests aren't a luxury; they're a prerequisite for sustainable rowing. When your footplate is mismatched to your body, every row feels like you're fighting the machine. Compensation patterns build (tighter calves, sore knees, stiff lower back) until the barrier to returning to the rower grows too high.
By contrast, when your footplate angle is matched to your shin geometry and ankle flexibility, rowing shifts from a discipline you force yourself to do to a habit you actually keep. The stroke feels smooth because energy flows in a straight line from legs to handle. Your session repeats (same power, same effort, different days) because your body isn't constantly re-finding its position.
If you're shopping for a rower, prioritize machines that explicitly offer adjustment range and allow you to test positions before committing. Ask sellers or gym staff: "Can I try footplate settings 2, 3, and 4 and feel the difference?" A machine that hides its adjustability or discourages experimentation isn't optimized for your body, it's optimized for average.
If you already own a rower, spend one session methodically adjusting your footplate using the shin-angle check outlined above. Film yourself. Write down the setting. Return to it for three rows and track whether your power, consistency, and comfort improve. Small adjustments often yield outsized returns.
Your feet are the foundation of every stroke. Give them the attention they deserve.